
How To Camo/Paint Guns & Rifles
- Feb 8, 2017
- 3 min read

So you want to paint your gun? Here is a quick and easy guide to painting gun parts for a more durable finish. This applies to all spray paint. Krylon, Alumahyde II, Aervoe, Rustoleum, Camo Spray Paints, etc. If you take the time, the end result will look better and last longer than just spray painting something without this process. If your in a hurry, then just spray your damn gun already and stop reading this article!
Step 1: Clean your parts with 90%+ alcohol or Acetone. Use a lint free cloth. You don't want fuzzies on your gun before you paint it! Also, remove all batteries from any accessories your painting. Do not put anything with batteries in the oven!
Step 2: Lightly sand the parts with 100 Grit sandpaper. This is just to get some texture on the part for the paint to grab. Nothing major! Just like 10-15 swipes on all areas.
Step 3: Lightly sand the parts with 150 Grit sandpaper as you did in Step 2.
Step 4: Clean your parts with 90%+ alcohol or Acetone. Use a lint free cloth. You don't want fuzzies on your gun before you paint it!
Step 5: Tape off optic glass and areas you do not want to paint on your gun parts or rifles. Find thin cord to hang your parts by when you spray paint them and when you hang them to dry. I use whatever is around, like Bank Line or even an inner strand of Paracord.
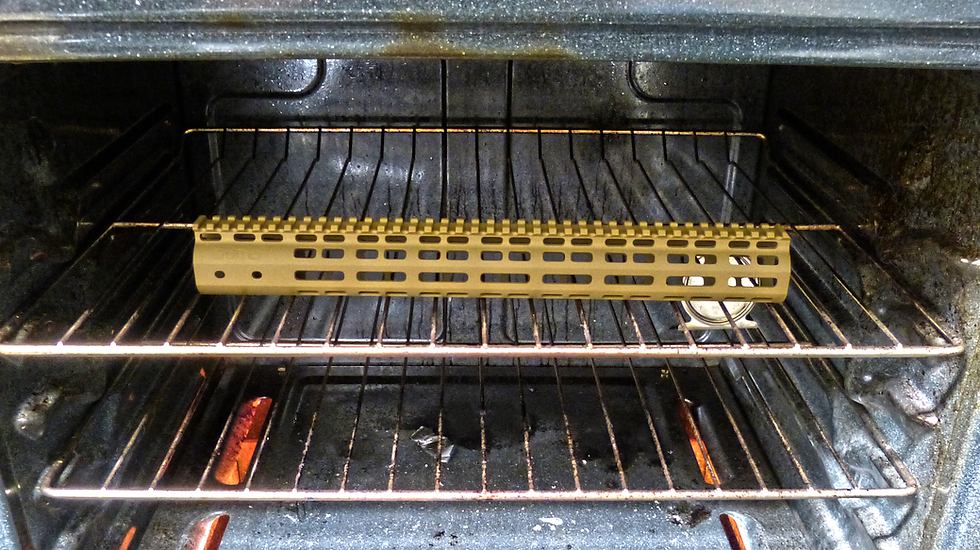
Step 6: Turn on your oven to 100-150 degrees
Step 7: After oven is heated up for like 10 minutes place gun parts in oven. Let in there for 10 minutes. You are opening up the pores in the metal and plastic which will allow for the paint to penetrate and stick better on application.
Step 8: Take parts out, hang in your designated paint area (I recommend outside). Shake the shit out of your paint cans before spraying each session. Begin to in one motion (Example: From right to left or up to down) about 6 inches from the parts, spray them with a light coat. It should look like a mist on the part when completed. The desired color should be barely visible. The color your make the base will be the main rifle color if you are doing a camo pattern.
Step 9: Let the parts dry for 5 minutes. Take it inside and put it in the oven for 15 minutes. I leave the string on my parts and drape it outside the oven. It gives me an easy way to pickup the parts as they will be slightly hot after 15 minutes.
Step 10: Repeat Steps 8 and 9 for at least 3 coats or until desired color is attained.
Step 11: After the final coat place the gun parts in the oven for a final cure of 30 minutes. After that remove them and hang them up to cool and air dry for an hour. If you are just doing this one color you are done!
Step 12: (Only applicable if you are doing a camo pattern). Take the parts outside and hang them. As an example for the look of the rifle at the top of this article, grab vegetation from the area, I like using long grassy type vegetation or cattails. The more you have and the smaller the area in between the vegetation the smaller the tiger stipe look will be. (I recommend you practice this before doing it on your rifle to get the hang of it). Take whatever colors you want to use, hold the vegetation against the gun parts and spray over the vegetation. Do this until desired look is completed. In the rifle above I used three colors. I apply all the stripes at once. You could do it individually.
Step 13: Oven cure as you have previously for 30 minutes. Remove them and hang them up to cool and air dry for an hour.
Step 14: I usually will wait a day until I do final assembly to allow the paint to cure further.
Step 15: Bravo, you did it!
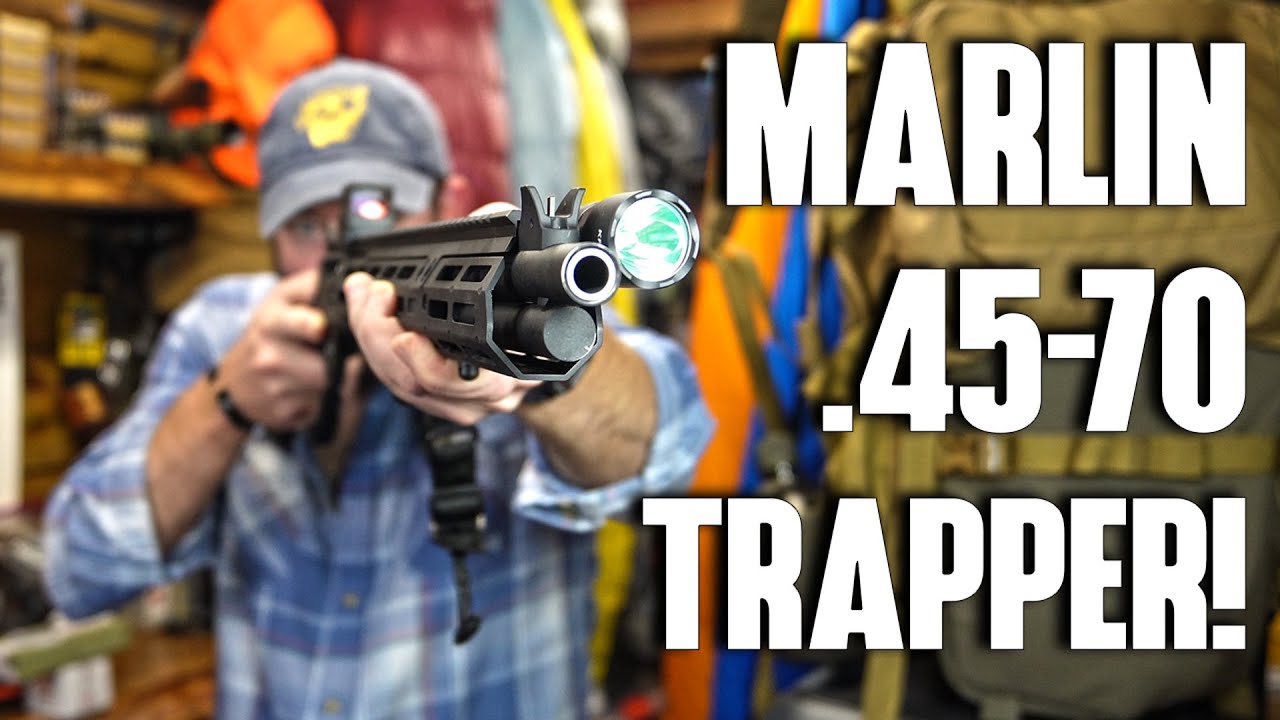
Here are some of my videos detailing painting and camoing guns and rifles:


Comments